
A peel test examines how a bond separates progressively from an edge. A lap-shear test examines the load-carrying behaviour of an overlap specimen under specified loading conditions. The loading modes, specimens and reporting conventions differ: the numerical values cannot directly tell you which adhesive is better, and one test cannot replace the other.
When selecting an adhesive for automotive interiors, first identify the two surfaces joined by the adhesive layer and the forces acting on the part at each stage. Then select the test. Door-panel edge wrapping, headliner lamination and rigid attachment joints do not all need to answer the same question.
Start with the question each test can answer
| Comparison | Peel test | Tensile lap-shear test |
|---|---|---|
| Loading | One material is pulled away at a specified angle, with separation advancing from the edge of the joint. | An overlap specimen is pulled in a specified direction to assess the apparent load-carrying behaviour of the overlap. |
| Example specimen | A flexible facing bonded to a rigid substrate; the angle and gripping arrangement must be stated. | An overlap specimen prepared according to the selected method; materials, dimensions and overlap area must be stated. |
| Common reporting units | Peel force in N; when expressed per width, N/mm or N/25 mm may be used. | Apparent strength commonly in MPa, equivalent to N/mm²; retain the load and overlap area as well. |
| What it can answer | How a specified interface separates at that angle, speed and specimen condition. | How that overlap assembly carries load under the specified specimen-preparation and loading conditions. |
| What it does not establish | That the complete part has passed holding, heat-creep or other loading requirements. | That a wrapped facing will not lift at an edge, or that the value can be used to design every joint. |
This table distinguishes methods for test selection; it is not a universal test procedure. Fixtures, material flexibility or rigidity, adhesive-layer thickness and the selected standard still need to be checked against project requirements.
A flexible facing and a rigid overlap need different specimen considerations
When a PVC-and-knitted-fabric composite facing is bonded to a PP carrier, peel testing can be planned for the flexible layer and the rigid side. The published scope of ISO 8510-2:2006 covers 180° peeling of a flexible material bonded to a rigid material. If both sides are flexible, the facing cannot be gripped consistently, or the construction differs, the suitability of the method must be checked again.
ISO 4587:2003 concerns tensile lap-shear testing between rigid materials. Its published description also states that the test does not provide design information. A flexible-fabric specimen should therefore not be forced into a rigid-overlap configuration and its result then applied directly to part design.
Check the material scope when consulting a standard. For example, the official scope of the historical ASTM D1002-10 edition concerns metal-to-metal single-lap specimens. The word “shear” in a title does not make a method suitable for every plastic or facing combination. Confirm the customer requirements and applicable edition before testing.
Why N/25 mm and MPa cannot be directly converted
N/25 mm identifies a peel result for a strip of specified width. MPa expresses stress as force normalised by area. One refers to strip width and the other to overlap area; the loading processes being measured are different too.
Even with a peel force and a specimen area, dividing one by the other does not give the shear strength. What is missing is an actual test under the other loading mode, rather than a conversion factor. When one supplier reports N, another N/25 mm and another MPa, first check how each result is defined before deciding which values belong in the same comparison table.
Distinguish peaks, averages and the selected evaluation interval in a report. Matching units alone do not make results comparable. Read the values together with the curves, anomalies and failure locations, rather than choosing the largest number to represent the whole adhesive system.
Keep comparison conditions consistent, even with the same method
Two results labelled “peel” may use different angles, speeds, widths or test times. Adhesives should not be ranked directly when those conditions differ. Records should also identify whether specimens come from a flat area, a recess or a flange, and whether preparation, curing and conditioning are the same.
An early test addresses a particular handling, transfer or demoulding question. A test after a specified curing period assesses the bond in that condition. A result after ageing adds another set of exposure conditions. These results can support a project decision together, but should not be pooled into one average or used to name an “overall winner”.
Initial tack and peel strength at a specified time also need separate discussion. To compare early behaviour, first read the initial-tack comparison for automotive wrapping adhesives and check the specimens and timing. Temporary holding alone should not be described as proof that final-strength requirements have been met.
Bring the actual part problem into the test plan
If a door panel stays bonded across its main surface but lifts at a wrapped edge, record the local curvature, facing recovery, adhesive coverage and sequence of support removal. Flat-specimen peel tests can help compare interfaces, while representative edge-wrapped specimens can show holding behaviour in the actual geometry. The two records need to refer to the same materials and process to explain any difference.
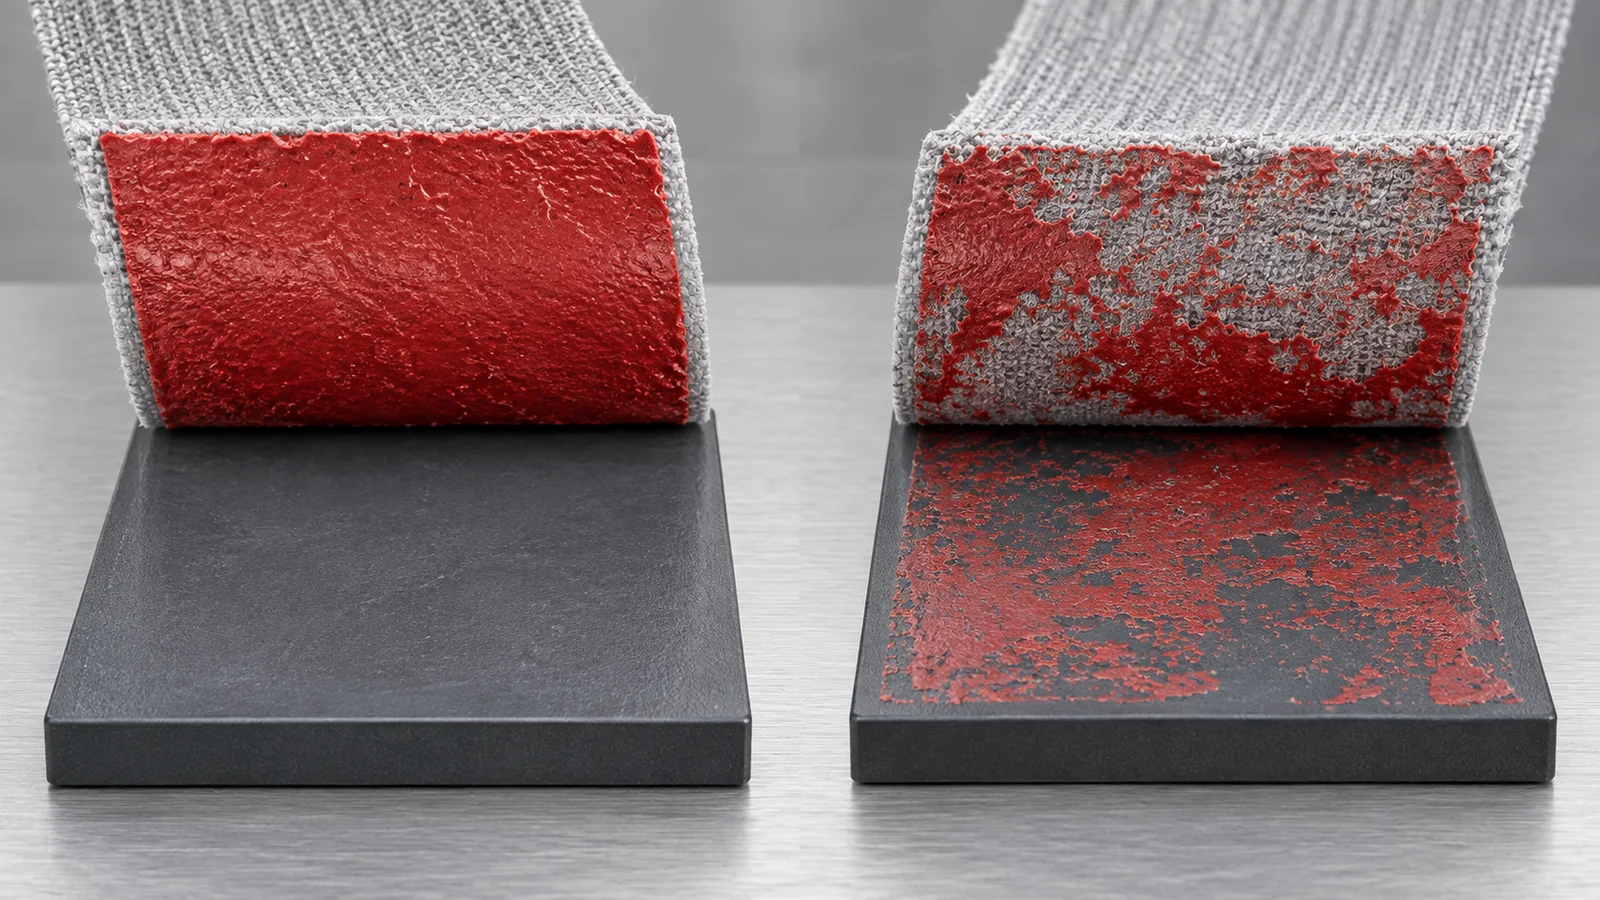
For a headliner or another composite part, first map the facing, foam, carrier and each adhesive layer, then decide which layer to sample. Record flexible-layer tearing, foam failure, cohesive failure within the adhesive and interfacial separation separately. “Substrate failure” describes the specimen observed; it does not automatically establish acceptance at other locations or for the complete part.
If an attachment joint carries a sustained load, define the load direction, duration, temperature and allowable displacement, then let the project determine the appropriate evaluation. A single short-duration peel or lap test cannot replace creep, ageing and assembly validation. A real joint may experience several actions at once, so its full loading cannot be inferred from a test name alone.
Connect these records in a report that others can check
| Record group | Traceable information needed |
|---|---|
| Materials and interfaces | Grades, batches, thicknesses, back coatings or surface treatments, and the actual adhesive-application side. |
| Specimen preparation | Adhesive and companion components, document versions, how adhesive quantity is defined, drying/activation, pressing and specimen identifiers. |
| Test conditions | Method and edition, specimen geometry, angle or fixture, width or overlap area, and speed. |
| Time and condition | Timing origin, test time, curing and conditioning, and test temperature; list ageing conditions separately. |
| Results and assessment | Replicate specimens, raw curves, definitions of peak/average values, outliers, failure surfaces on both sides, and customer acceptance requirements. |
If the method or acceptance criteria have not been agreed, prepare a test plan first. Leave unmeasured results pending. Do not retrospectively fill in unrecorded conditions to simplify supplier comparisons, or use data from another material combination as the limit for this project.
How to use published peel results
RELANET’s published company test of R-5670 + R-60C used a PVC-and-knitted-fabric composite facing bonded to flame-treated PP, a 25 mm-wide strip, 180° reverse peeling and a speed of 200 mm/min. Timing began when bonding was completed: the average result at 1 minute was 25 N/25 mm, and the result after 7 days of curing was approximately 60 N/25 mm. The stated 23°C ± 5°C applies only to the measurement temperature for the seven-day result. It must not be added as the one-minute test temperature or the environment throughout the seven-day curing period. These are peel results; they provide no shear value and are not a performance guarantee for other parts. See the complete test conditions and durability discussion.
When discussing adhesive selection with the technical team, provide the actual materials, joint location, process, loads and customer requirements, and request the current TDS and SDS for the relevant components. The R-5670 product information helps identify the system and published information. Project release must still rely on the relevant specimens, original records and validation of actual parts.